Jailbreaking Your Laptop · Part 1 of 5
Install Omarchy
This is part 1 of 5. You're building toward something bigger: you own the entire stack. The first step is the biggest — owning the OS.
You're building toward owning the whole stack — the computer, the AI on it, the site, the apps. The first step is the biggest: owning the operating system. You can run your own AI, publish your own site, and build your own apps without swapping the OS. People do. Changing the OS is what gives you full control — what apps run, what connects to the internet, how it looks. That's why you start here.
Take over the OS and you decide what runs. Way less stuff snooping on you. Only the processes you need to get things done. All those extra processes eat memory — memory you could use to run AI on the laptop itself.
So you swap it. The new one is called Omarchy. Copy your files off. Write the installer to a USB stick. Install. Restart.
What you need
Backup your existing files first. Then run the install off the USB stick.
- A laptop. 16 GB of memory is enough. Mac, Windows, or Linux — whatever you have.
- A USB stick. 4 GB or bigger. The install file is under 6 GB.
- A keyboard that works at boot. Laptop keys are fine. Desktop — or Bluetooth-only — needs a cable or a 2.4 GHz dongle. Bluetooth can't type the disk password yet.
- The Omarchy install file. Download it from iso.omarchy.org. You'll put it on the USB stick in step 1.
- An external hard drive. Copy your personal files here first so the install doesn't eat them — Desktop, Downloads, Documents, plus photos, videos, music, wherever you actually keep them.
Times from the official Getting Started page.
Backup before you install
The install wipes the laptop. How long the copy takes depends on how much you have — photos, videos, music. Most people have a lot.
My machine had about 100 GB of that sitting on the disk. That's what I copied off.
For this step: copy the folders where your stuff actually lives. Desktop, Downloads, Documents — and Pictures, Movies, Music, or any other folder you dumped photos and videos into. Drag them yourself, or ask an AI on your machine to move them. Example below used OpenCode.
Plug the external drive in. Prompt:
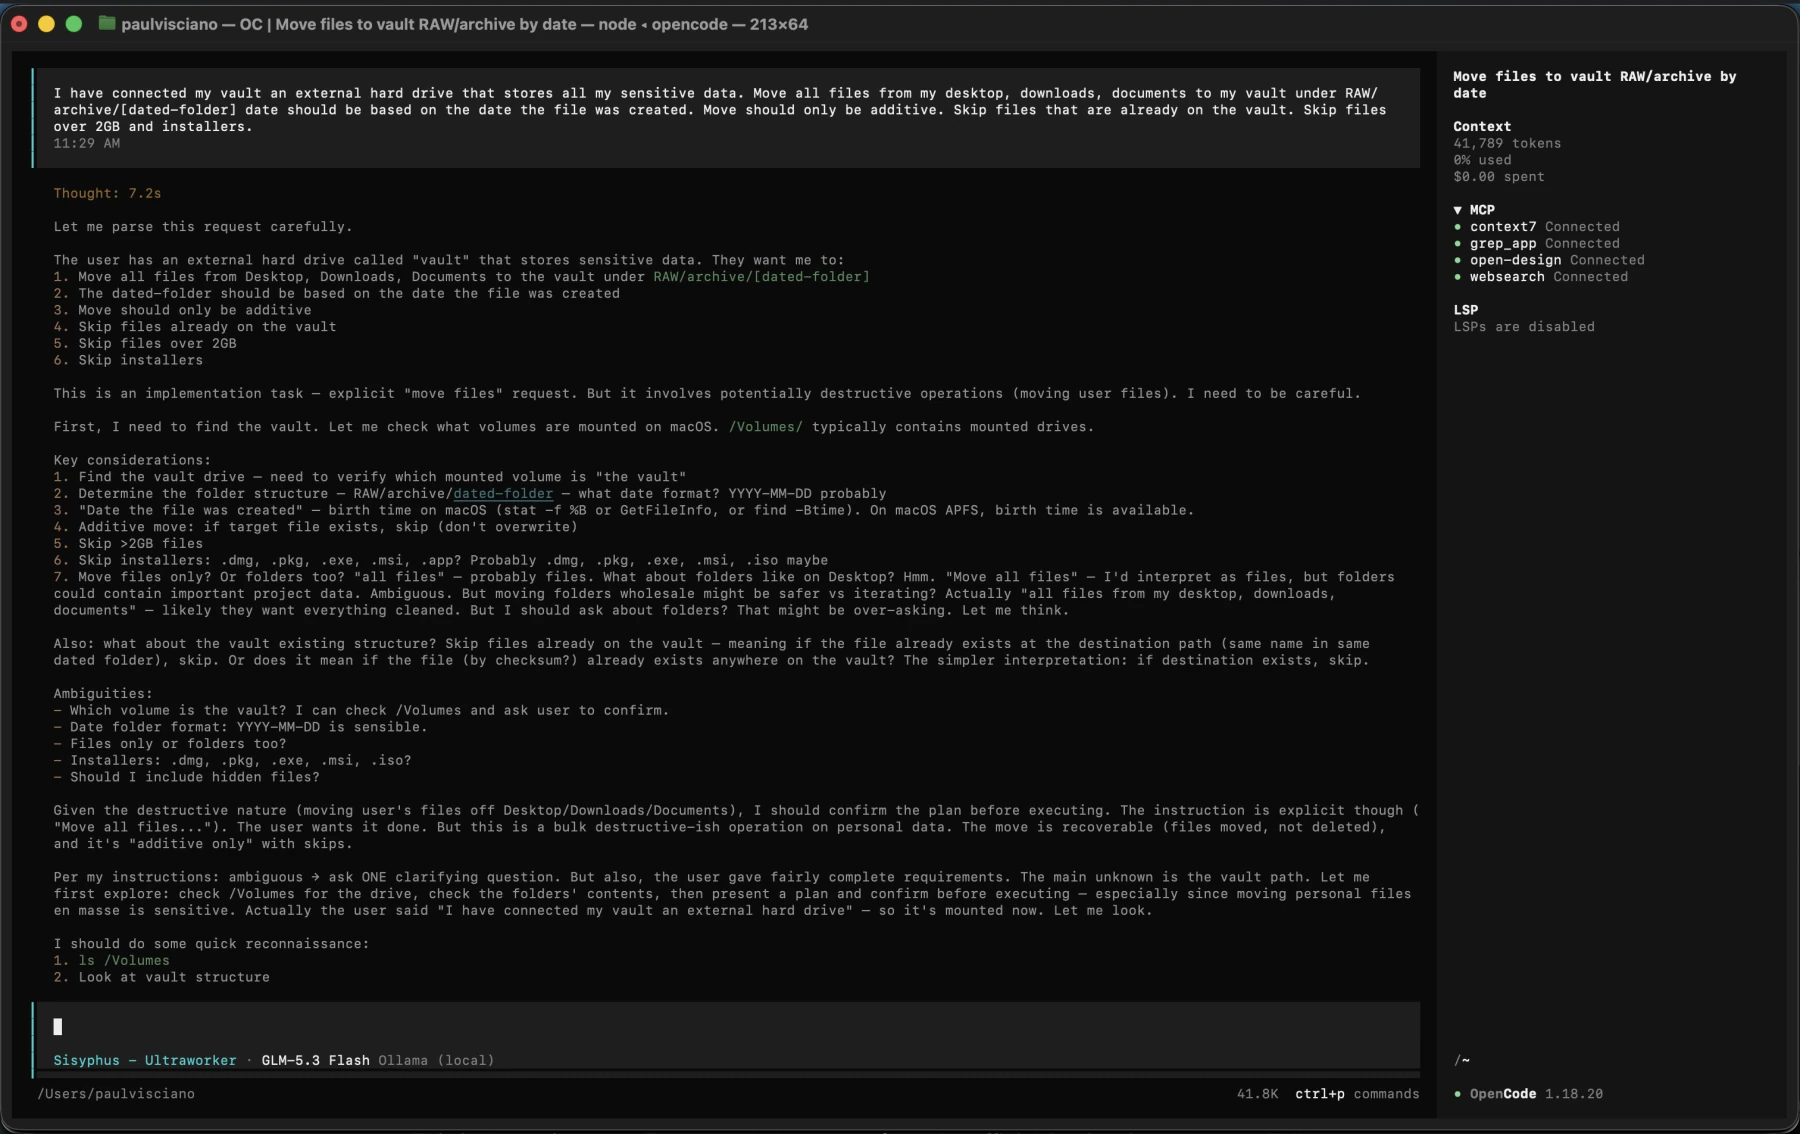
I have connected my vault, an external hard drive that stores all my sensitive data.

Move all files from Desktop, Downloads, and Documents to my vault under RAW/archive/[dated-folder].

The dated folder should be based on the date the file was created.

- Move should only be additive
- Skip files that are already on the vault
- Skip files over 2GB
- Skip installers
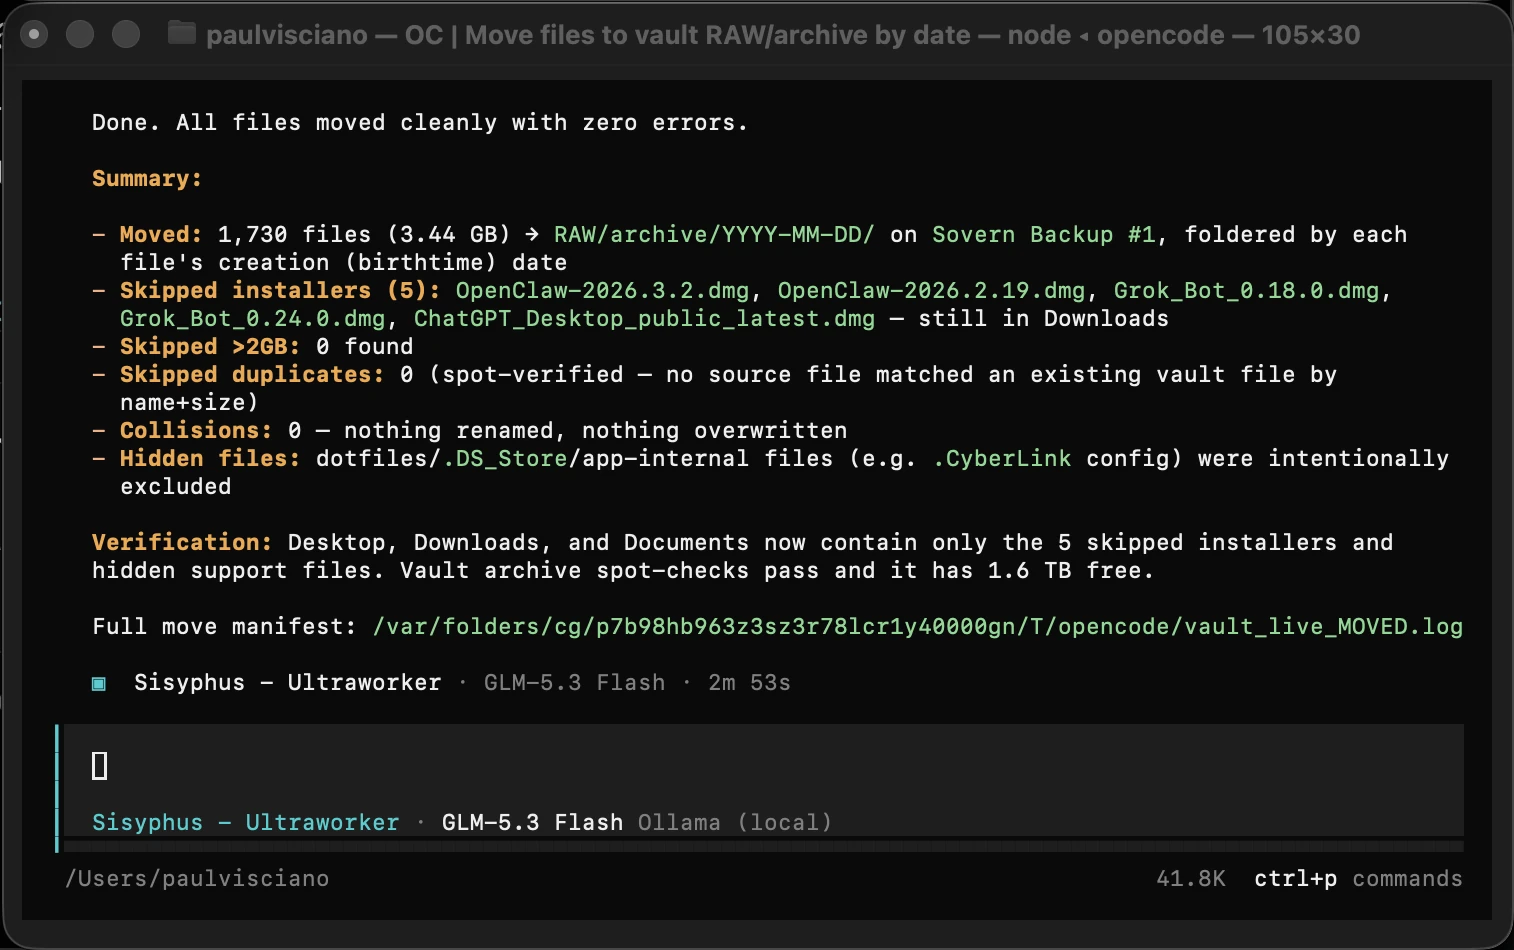
It only adds files. Skips what's already on the drive, installers, and anything over 2 GB.
When it's done you want a clean summary. Nothing overwritten. Example run:
Install Omarchy
Steps below are from the official Getting Started page. Do this part by hand. Backup is already done.
-
Download the install file and put it on a USB stick
Get it from iso.omarchy.org. Under 6 GB. Write it to the stick with balenaEtcherwith balenaEtcherwith caligula. That stick is only for installing. When you're done, take it out.
-
Turn off Secure Boot
On a Mac you can skip this. Hold Option when you power on to get the boot menu, then pick the USB stick.Restart and tap F2, F12, or Del to get into the computer's settings. Turn off Secure Boot. If you see TPM, turn that off too. Omarchy won't install while Secure Boot is on.Restart and tap F2 or Del. If you see Secure Boot, turn it off. If the machine never had Windows, it may already be off.
-
Boot off the USB stick
Plug the stick in and turn the computer on. Hold Option until you see the boot menu, then pick the stick. Open the boot menu (often F12) and pick the stick. Pick the stick from the boot menu. You should land in the installer. If you don't, the stick didn't write right, or Secure Boot is still on.
-
Choose your install type
Two paths. Full-disk wipes the whole drive and Omarchy is the only system. Free-space puts it next to what you already have (dual boot). Keeping Windows? Turn off BitLocker first.Keeping macOS? Make empty space in Disk Utility first.Keeping your current Linux? Leave empty space on the drive. It encrypts the disk either way. Full-disk means the whole drive. That's why you copied files off first.
-
Answer the configuration questions
It asks for a computer name, your username, a password, and timezone. Pick a drive. On a fast machine it can finish in about a minute. Older hardware, still under five. You don't pick a bunch of extra software here. That's later, from the menu.
-
Reboot into your new desktop
Take the stick out when it says to. Type the disk password (laptop keys, or the cable keyboard if you're on a desktop). You should see a dark desktop, no dock, no icons. First time in, a small message pops up — click it for the list of keyboard shortcuts. Super is the Windows key, or Command on a Mac.
Super + Kis search for those shortcuts. -
Verify it worked
Three checks. One: dark desktop, no dock, no icons. Two:
Super + Spaceopens the menu. Three:Super + Returnopens a terminal. If those work, you're in. If not, the note below.
That's the install. Seven steps. Here's what you do once you're in.
The keys that matter
Super + K is the one shortcut to remember. It shows the rest, searchable. You pick up the others by using it. Starter set below. Full list: hotkeys page.
| Keys | What it does |
|---|---|
Super + K | Show every desktop keybinding |
Super + Space | Omarchy menu. Apps, setup, install, update. |
Super + Alt + Space | Apps only |
Super + Return | Terminal |
Super + Shift + Return | Browser |
Super + C / Super + V | Copy and paste, including inside the terminal |
Super + W or Super + Q | Close a window. The app actually quits. There's no dock to hide it in. |
That last row is the one that catches former Mac users. On macOS, the red dot closes the window and keeps the app running in the dock. Omarchy has no dock. Close a window and the app is gone. If you wanted it minimized, you wanted it open. This is how tiling window managers work — there is no separate dock to minimize into. It takes about a day to stop reaching for a dock that is not there.
How tiling works
Omarchy uses a tiling layout called dwindle. Open one window, it takes the whole screen. Open a second, they split. Open a third, the active half splits again. You do not drag windows around. You do not fish one out from under another. The layout handles where things go. The navigation page covers the full set of movement and swap keys.
Workspaces are how you keep things separate. Super + 1 through Super + 4 (and beyond) jump to a workspace. The switch happens with a keybinding. No animation, no carousel, noExpose-style preview. You hit the number, you are there. Super + Shift + 1 sends the current window to workspace 1. That is the whole model. Windows tile within a workspace, workspaces switch with a number.
This is the part that feels strange for the first day and obvious by the third. You stop managing windows. You start naming what you want on screen and where.
What it looks like
It boots to a simple desktop. No dock of icons. You open windows from the keyboard. That's the default, and it's fine.
Some people go way further. They take over the entire look — colors, the bar, how windows move, the whole screen. Above and beyond. Same install you just did. These two are examples, to get you excited about what's possible. You don't have to. When you want to play with it, you can.
Same system. They customized the look all the way.
Install and update software
Hold Super (the Windows key, or Command on a Mac keyboard) and tap Space. That's the menu. Install apps from there. Update from there. What you can install.
To update: menu → Update → Omarchy. It saves a restore point first. If an update acts up.
If an update breaks it
Restart. At the boot menu, pick the restore point from before the update. You're back. More on that.
Those restore points bring back the system, not your photos and documents. That's why the files went to the external drive first.
You did it
You're on the new desktop. You're done with the hardest part. You own the OS. The first step was the biggest. The rest of the stack — AI on this laptop, your site, your apps — builds on this.
Now that you took control over your machine, let's make sure all your AI conversations stay private by running your own AI. Part 2.
Why this series exists: Own the stack →